Experience the Unmatched Beauty of the Lakes on the Walla Crag Walk
Embark on your Walla Crag walk from Crosthwaite Road Car Park, located on the north-west side of Keswick town centre. Begin by strolling south-east along the River Greta’s banks. When you reach Station Road, turn right, crossing the river.
Continue on Station Road to its junction, then proceed down Southey Street, which leads to Ambleside Road. Walk eastward, then veer left into Springs Road. Your journey south-east will bring you to a quaint tea room at the road’s end.
Advance along the track through Springs Wood, following Brockley Beck. Exiting the woodland, join a minor road. Turn right, walking past Rakefoot. Soon after, veer off the road to follow a footpath south, then south-west across Walla Crag’s summit, where the views are spectacular.
Gradually descend south towards Ashness Bridge. Proceed south on the minor road through Ashness Wood. Midway, a right-hand footpath diverges, winding down, crossing Watendlath Beck, and leading to the B5289 beneath High Lodore.
Turning right, the road passes the Borrowdale Hotel, reaching Lodore Falls Hotel. If time allows, explore the Lodore Falls behind the hotel. Continue on a footpath beside the road, eventually crossing to the National Trust Kettlewell Car Park.
Follow the stone walkway, adhering to the path around the promontory to Barrow Bay and Ashness Gate Landing Stage. Depending on Derwent Water’s level, you may walk along the shore or rejoin the road for a short distance.
Circumvent Calfclose Bay’s shores, then traverse Stable Hills’ lakeside path into The Ings woodland. Exit, keeping the lake to your left, leading to Friar’s Crag. Proceed north past the jetties, eventually returning to Keswick’s centre. Here, rejoin the B5289, heading north-west across the River Greta. A right turn at the mini-roundabout returns you to Crosthwaite Road Car Park, concluding your approximately 10½-mile Walla Crag walk, filled with stunning vistas and intriguing sites.
Walla Crag Walk: Maps and Tools
Visit either the OS Maps website or the Outdooractive website to view this walking route in greater detail. Both platforms offer a range of features, including the ability to print the route, download it to your device, and export the route as a GPX file. You can also watch a 3D fly-over and share the route on social media.
Walla Crag Walk: Distance, Duration, Statistics
Distance: 10½ miles
Distance: 16¾ kilometres
Duration: 5 hours
Ascent: 1680 feet
Ascent: 512 metres
Type: Circular walk
About Walla Crag
Walla Crag is a prominent fell in the English Lake District, situated near Keswick. The fell is conveniently located just a short distance south of the town centre, offering stunning views over Derwent Water and making it a popular choice for those embarking on a Walla Crag walk. Positioned on the eastern side of the lake, Walla Crag forms a notable landmark in the area.
Topographically, Walla Crag features a striking cliff at the end of a short ridge that extends north-west from Bleaberry Fell. The cliff drops approximately 120 metres from the plateau above, leading to steep slopes that gradually become less pronounced near the shores of Derwent Water. The area is densely forested, predominantly with conifers, extending nearly to the peak and continuing through Great Wood down to the lake. A significant gap known as Lady’s Rake interrupts the crag.
The summit, set slightly back from the edge, transitions into a smooth, heather-covered area before reaching the expansive depression of Low Moss. The terrain then ascends towards Bleaberry Fell. Walla Crag’s southern edge is defined by Cat Gill, which flows from Low Moss to Derwent Water, delineating Walla Crag from the adjacent Falcon Crag, a spot favoured by rock climbers. Furthermore, Brockle Beck meanders north from Low Moss, turning westward to join Derwent Water at Strandshag Bay.
Geologically, the crag reveals the plagioclase-phyric andesite lavas characteristic of the Birker Fell Formation, while drift deposits cover the summit area.
The peak is marked by a substantial cairn, offering panoramic views of northern Derwent Water, the Vale of Keswick, and a direct line of sight down Borrowdale towards the high fells. This viewpoint makes the Walla Crag walk a must-do for visitors seeking breathtaking scenery.
In Alfred Wainwright’s listing of the 214 Lake District Fells, Walla Crag is ranked 204th in terms of its height. The fell stands at 379 metres (1243 feet), with its precise location marked on maps as NY 276 212. It is featured on both the Explorer and Landranger maps, specifically OL4, 89, and 90, and is included in Alfred Wainwright’s Central Fells book.
Recommended Ordnance Survey Map
The best map to use on this walk is the Ordnance Survey map of the Lake District North-Western Area, reference OS Explorer OL4, scale 1:25,000. It clearly displays footpaths, rights of way, open access land and vegetation on the ground, making it ideal for walking, running and hiking. The map can be purchased from Amazon in either a standard, paper version or a weatherproof, laminated version, as shown below.
Standard Version
Walla Crag Walk: My Photos
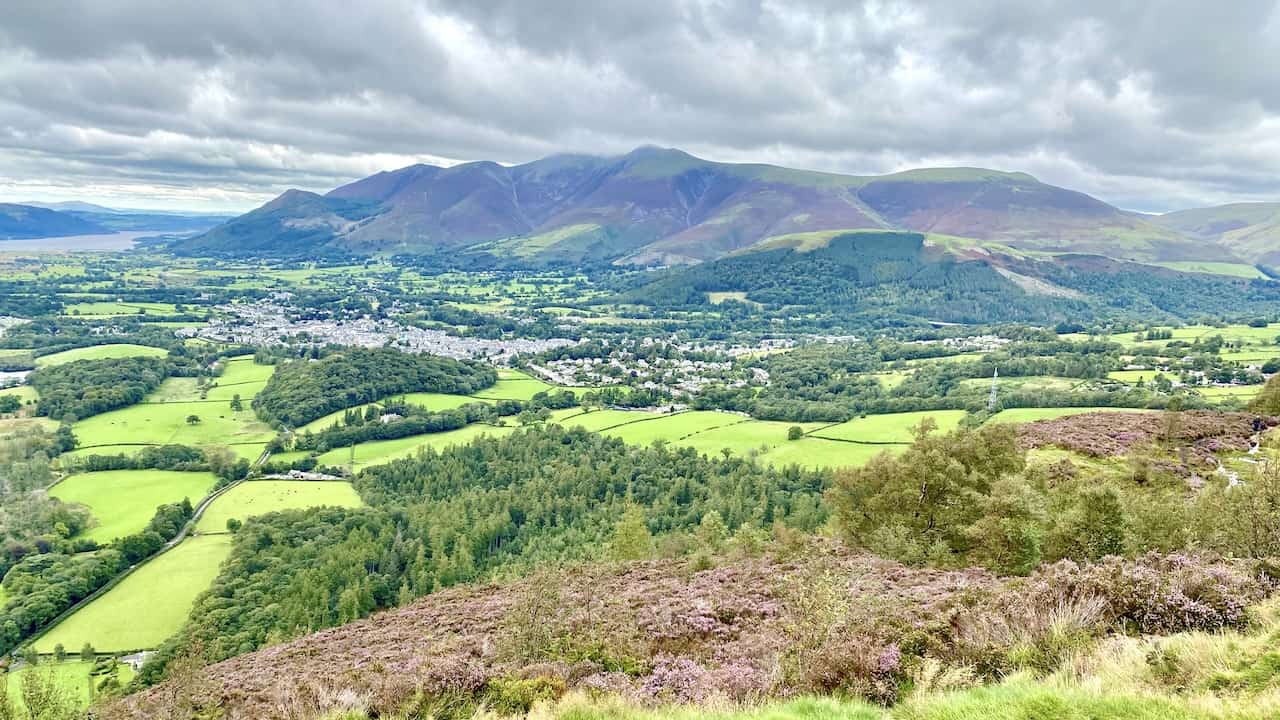
The view north from Walla Crag towards Latrigg and the Skiddaw range of mountains.
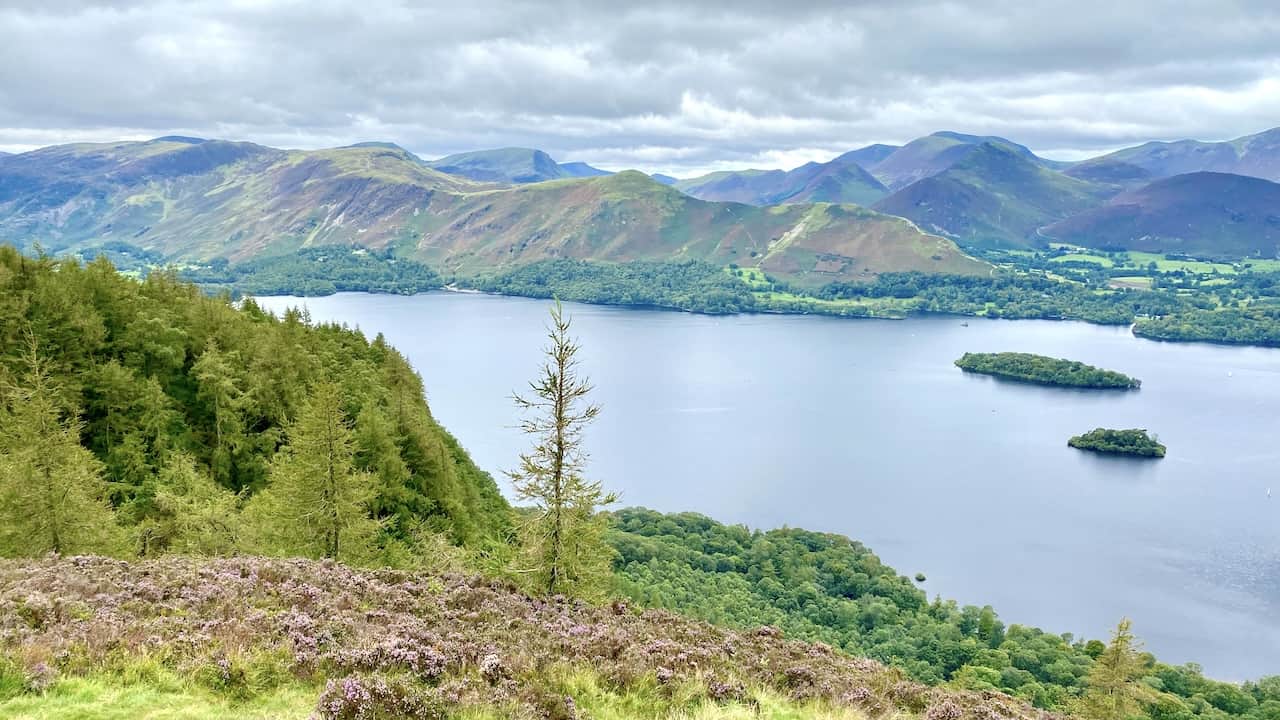
Looking west across Derwent Water from Walla Crag. The smaller island is Rampsholme Island and the larger one is St Herbert’s Island. Immediately behind the lake is the ridge made up of Skelgill Bank, Cat Bells, Maiden Moor and High Spy. Further back are some of the other north-western fells such as Barrow, Rowling End, Causey Pike and Robinson to name but a few.
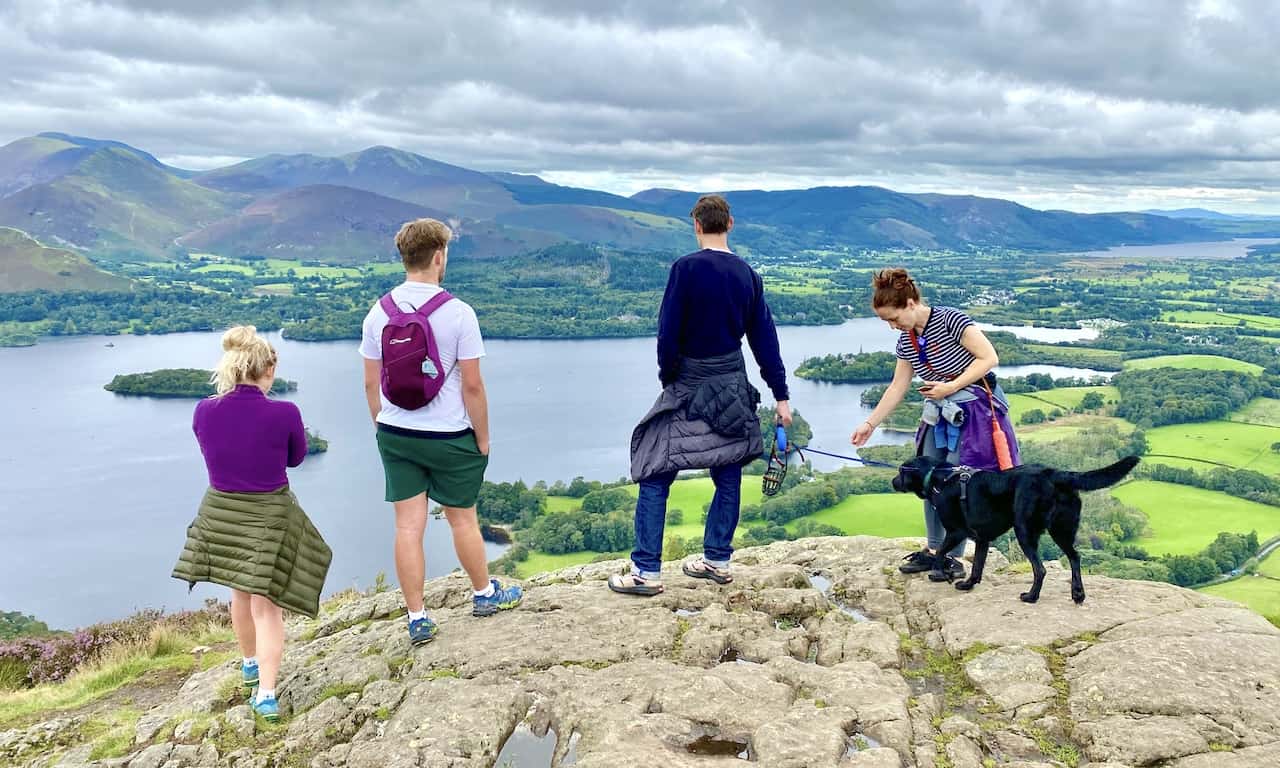
Walkers enjoying the views of Derwent Water and Bassenthwaite Lake on their Walla Crag walk.
Derwent Water, Bassenthwaite Lake and the River Derwent floodplain. The river rises at Sprinkling Tarn underneath Scafell Pike and flows generally north to Cockermouth then west to Workington, where it enters the Irish Sea.

The view south-west from Brown Knotts across the southern half of Derwent Water. The woodland of Manesty Park sits below the steep slopes of Cat Bells and Maiden Moor.

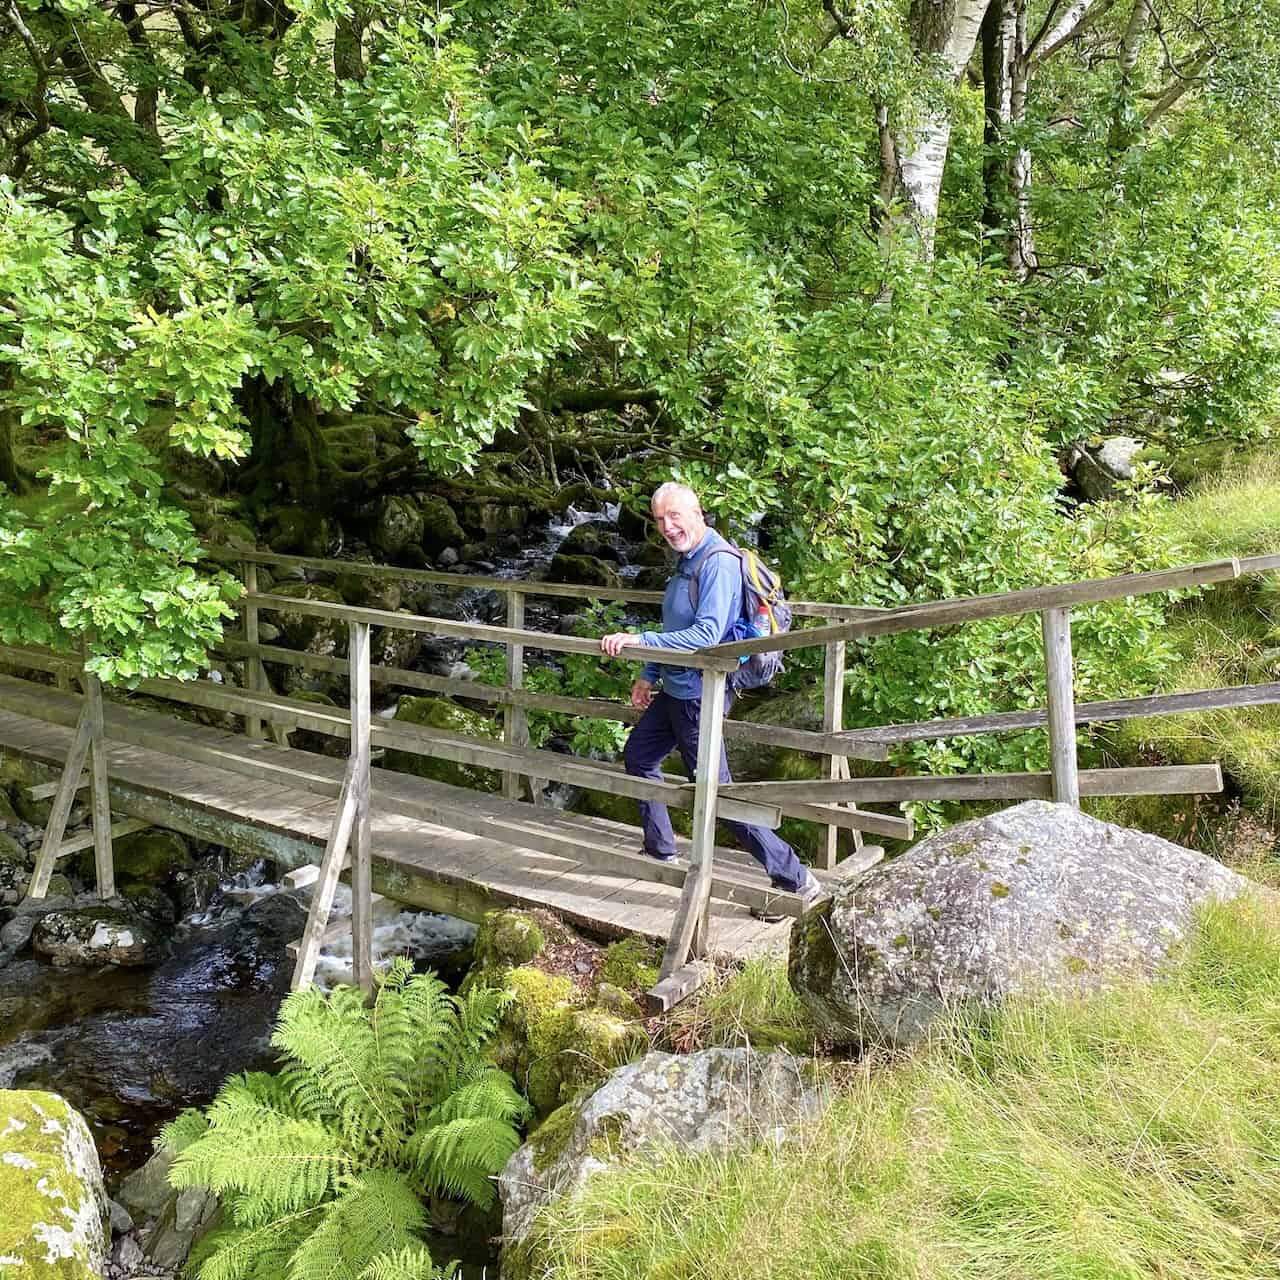
Footbridge across Barrow Beck which flows into Derwent Water from Bleaberry Fell.
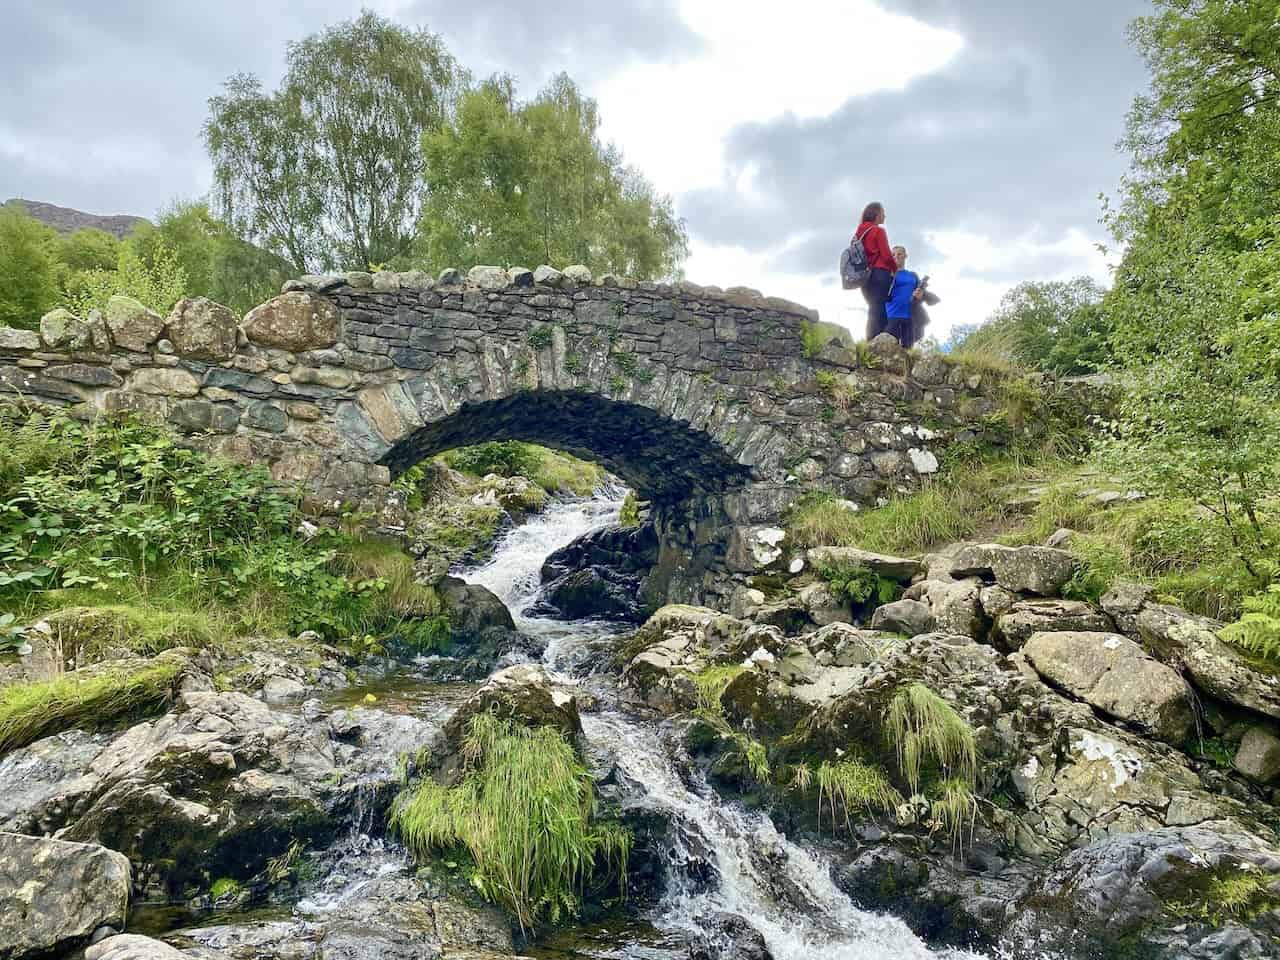
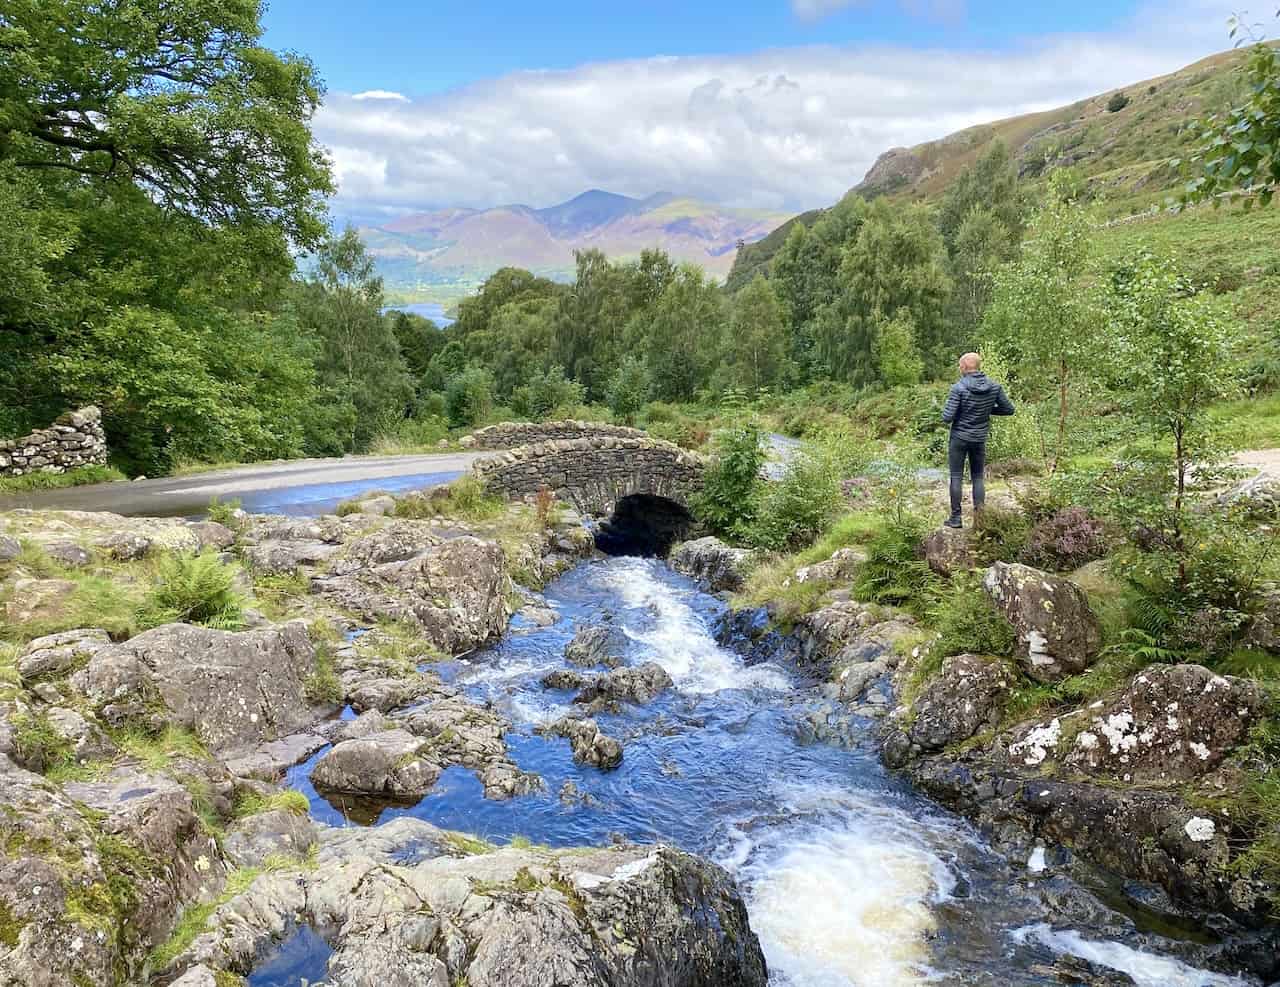
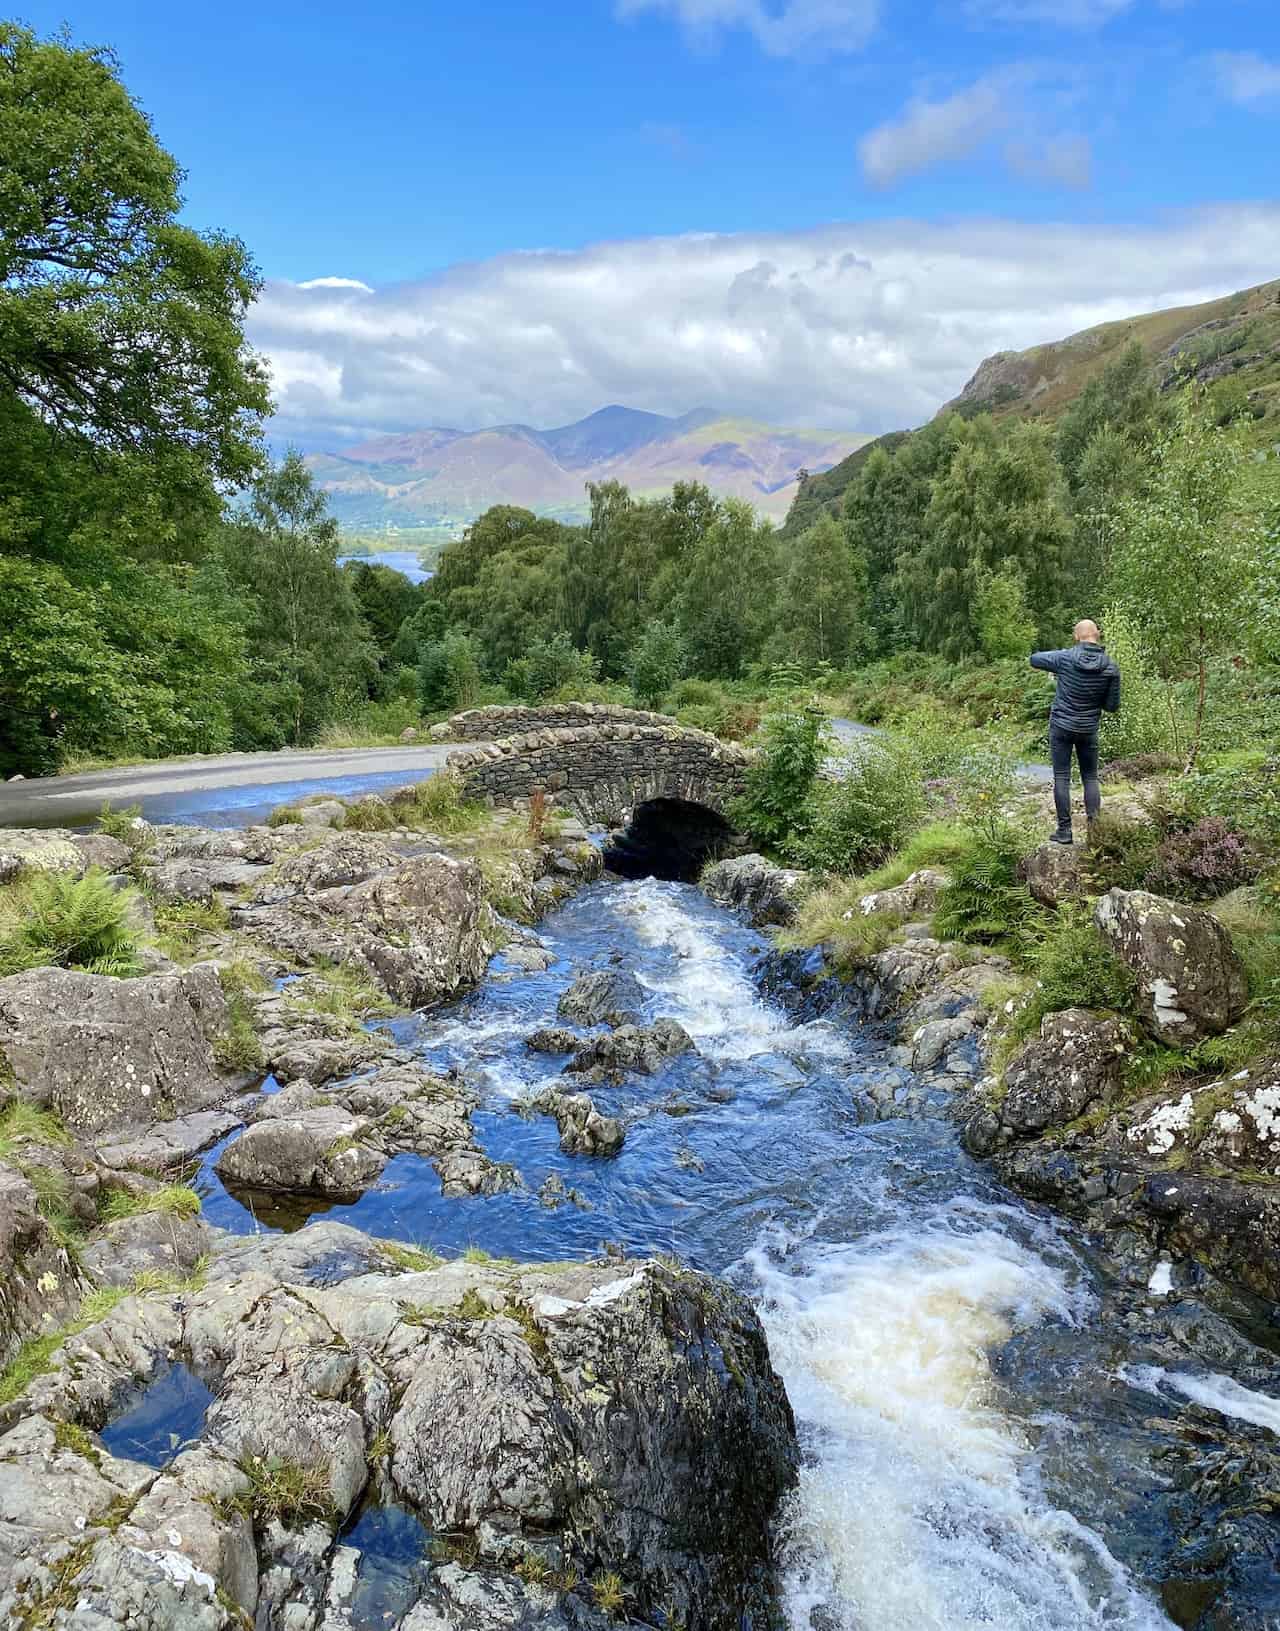
Ashness Bridge, a traditional stone-built packhorse bridge striding Barrow Beck. This location is a highlight of the Walla Crag walk.
Ashness Bridge is perhaps the most photographed packhorse bridge in the Lake District due to its location and stunning views. This extremely popular viewpoint looks over towards Derwent Water and the Skiddaw mountain range. Similar images are often seen adorning mugs, biscuit tins and tea towels.
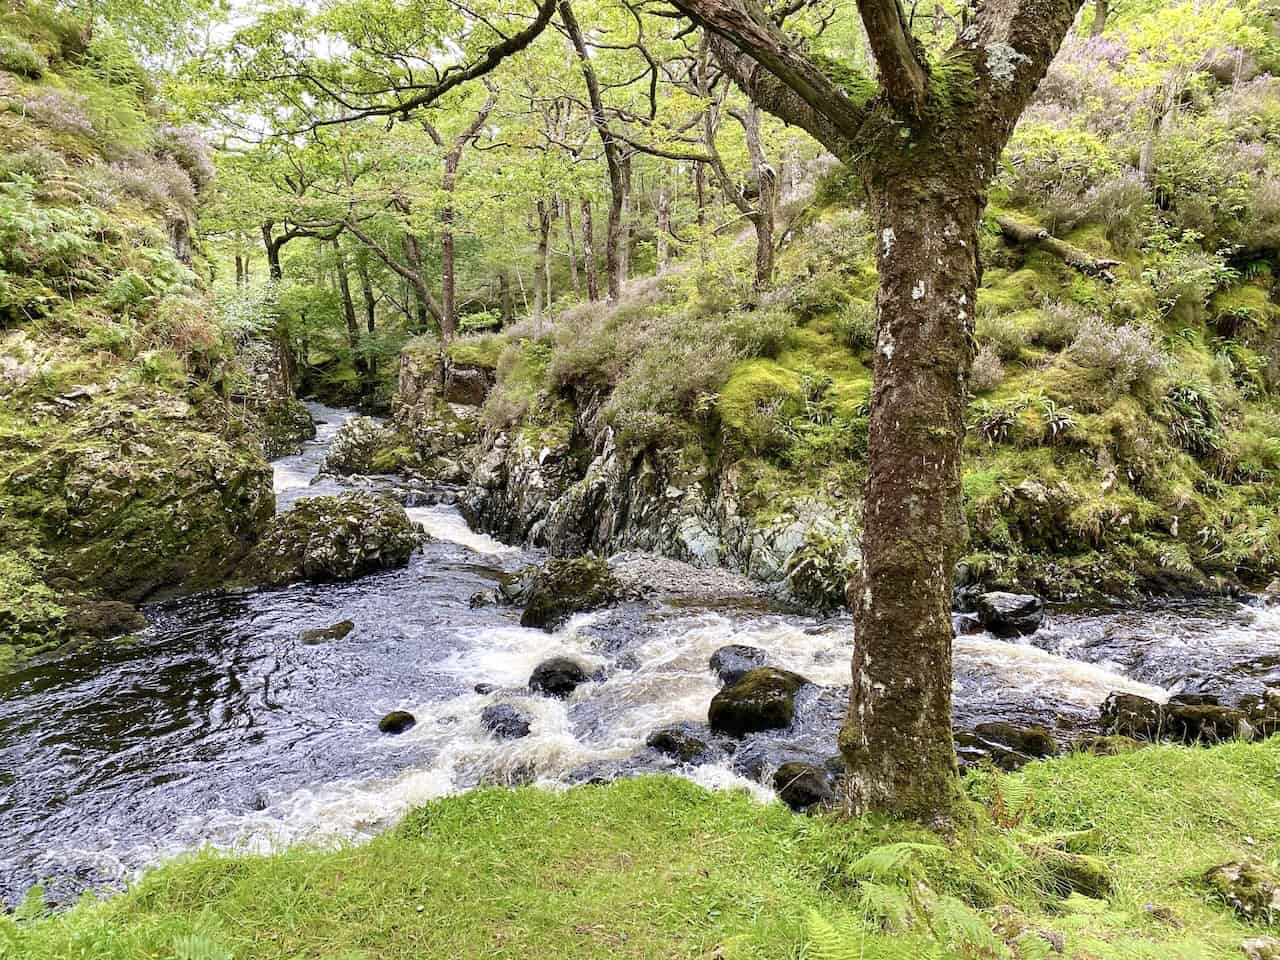
Watendlath Beck, about halfway round our Walla Crag walk.
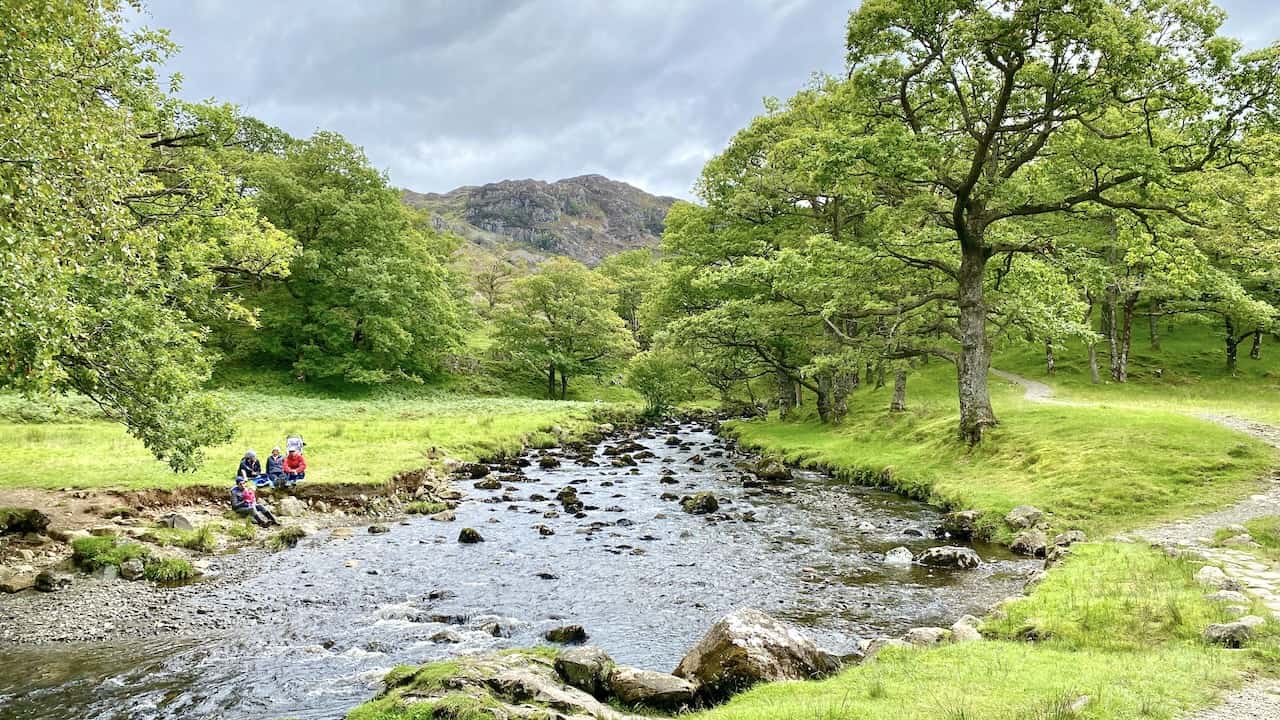
Watendlath Beck flowing through Mossmire Coppice.
Highly Rated Osprey Hiking Backpacks for Outdoor Enthusiasts
Osprey’s reputation for crafting high-quality hiking backpacks is well-established, offering a range of options that cater to both men and women. The following four backpacks stand out for their excellent sales and customer ratings on Amazon, making them a top choice for outdoor enthusiasts seeking reliability and comfort. As an Amazon affiliate, I may earn a small commission from any purchases made through the links provided. This helps support the upkeep of this website. Rest assured, you won’t pay a penny extra, but your purchase will contribute to keeping my site running smoothly. Happy walking!
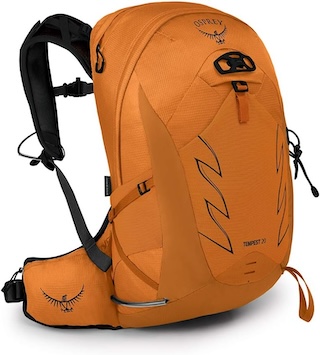
Osprey Tempest 20 Women’s Hiking Backpack
The Tempest 20 stands out as the ideal solution for day-hiking, biking, or peak-bagging, tailored specifically for women. It features a panel-loading design for ease of access, complemented by an internal zippered mesh pocket with a key clip for secure storage. Unique to this model are the Stow-on-the-Go trekking pole and LidLock bike helmet attachments, enhancing its versatility. Side stretch mesh pockets, along with an easy-access, expandable stretch mesh harness pocket, offer ample storage. Additionally, it includes a blinker light attachment (light not included) and a large stretch mesh front panel pocket for extra carrying capacity.
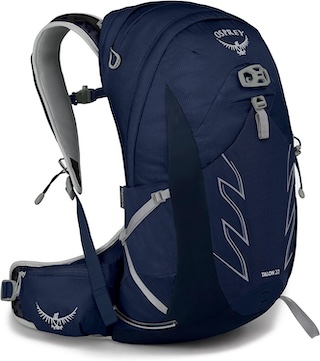
Osprey Talon 22 Men’s Hiking Backpack
Designed for the active adventurer, the Talon 22 provides an optimal panel-loading design suitable for day-hiking, biking, or peak-bagging. Key features include dual-zippered panel access to the main compartment and a tuck-away ice ax attachment with a bungee tie-off. It boasts a top panel zippered slash pocket for quick access items and lower side compression straps for load management. An external hydration reservoir sleeve and dual-zippered fabric hipbelt pockets enhance hydration and storage, while a large stretch mesh front panel pocket increases its utility for various activities.

Osprey Tempest 30 Women’s Hiking Backpack
The Tempest 30, designed with a women’s-specific fit, is a streamlined top-loader ideal for both extensive day trips and light-and-fast overnight adventures. It includes a fixed top lid with an external zippered slash pocket and an under-lid zippered mesh pocket with a key clip for organised storage. The pack features a tuck-away ice ax attachment with a bungee tie-off, dual upper and lower side compression straps for load adjustment, and an external hydration reservoir sleeve. For added convenience, it offers an easy-access, expandable stretch mesh harness pocket and dual-zippered fabric hip-belt pockets.
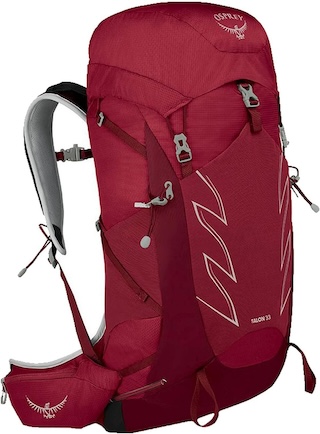
Osprey Talon 33 Men’s Hiking Backpack
The Talon 33 is engineered for dynamic movement, making it the perfect streamlined top-loader for committed day trips or light-and-fast overnight excursions. It features top load access to the main compartment for easy packing and retrieval. The backpack is equipped with a large stretch mesh front panel pocket, Stow-on-the-Go trekking pole attachment, and stretch mesh side pockets for versatile storage options. Additionally, an easy-access, expandable stretch mesh harness pocket and dual-zippered fabric hip-belt pockets offer convenient storage solutions for essential gear.